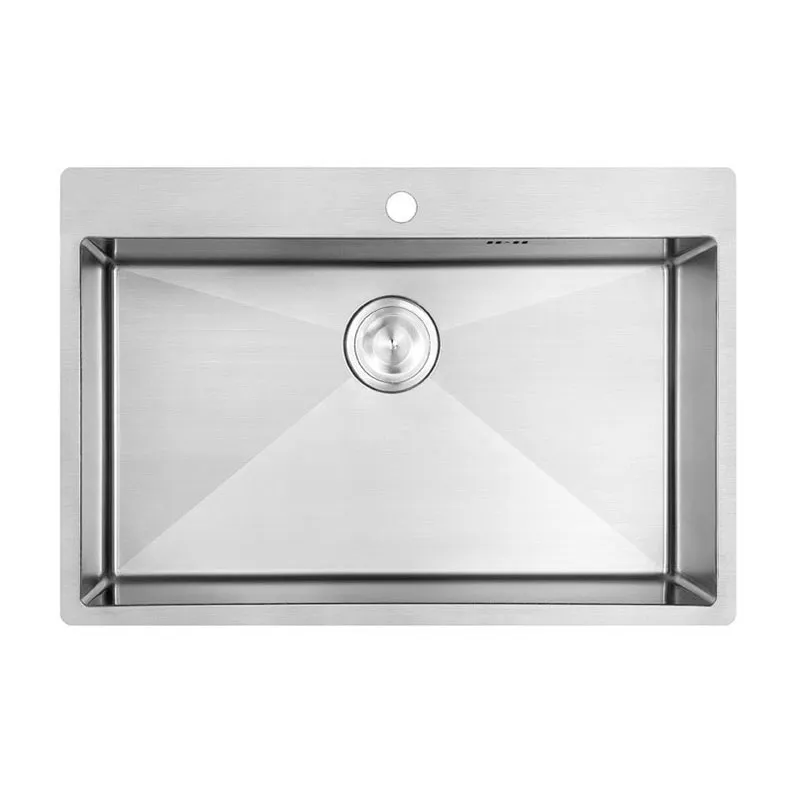
Flushmount sinks are a widely used kitchen sink design. Their simple, modern appearance and superior functionality have made them a standard feature in many home kitchens. Unlike traditional above-counter sinks, flushmount kitchen sinks are recessed into the countertop, with the rim flush with the surface, creating a streamlined look. This design is not only aesthetically pleasing but also easier to clean, making it a favorite among homemakers and kitchen designers.
However, for many first-time installers or those considering installing a flushmount sink, the installation process can seem somewhat complex. Unlike the simple installation of an above-counter sink, a flushmount sink requires precise fitting, meticulous work, and specialized tools. This article will provide detailed instructions for installing a flushmount sink, including pre-installation preparation, tool selection, steps, and solutions to common problems, to help you complete the installation smoothly.

What are the characteristics of a flushmount sink?
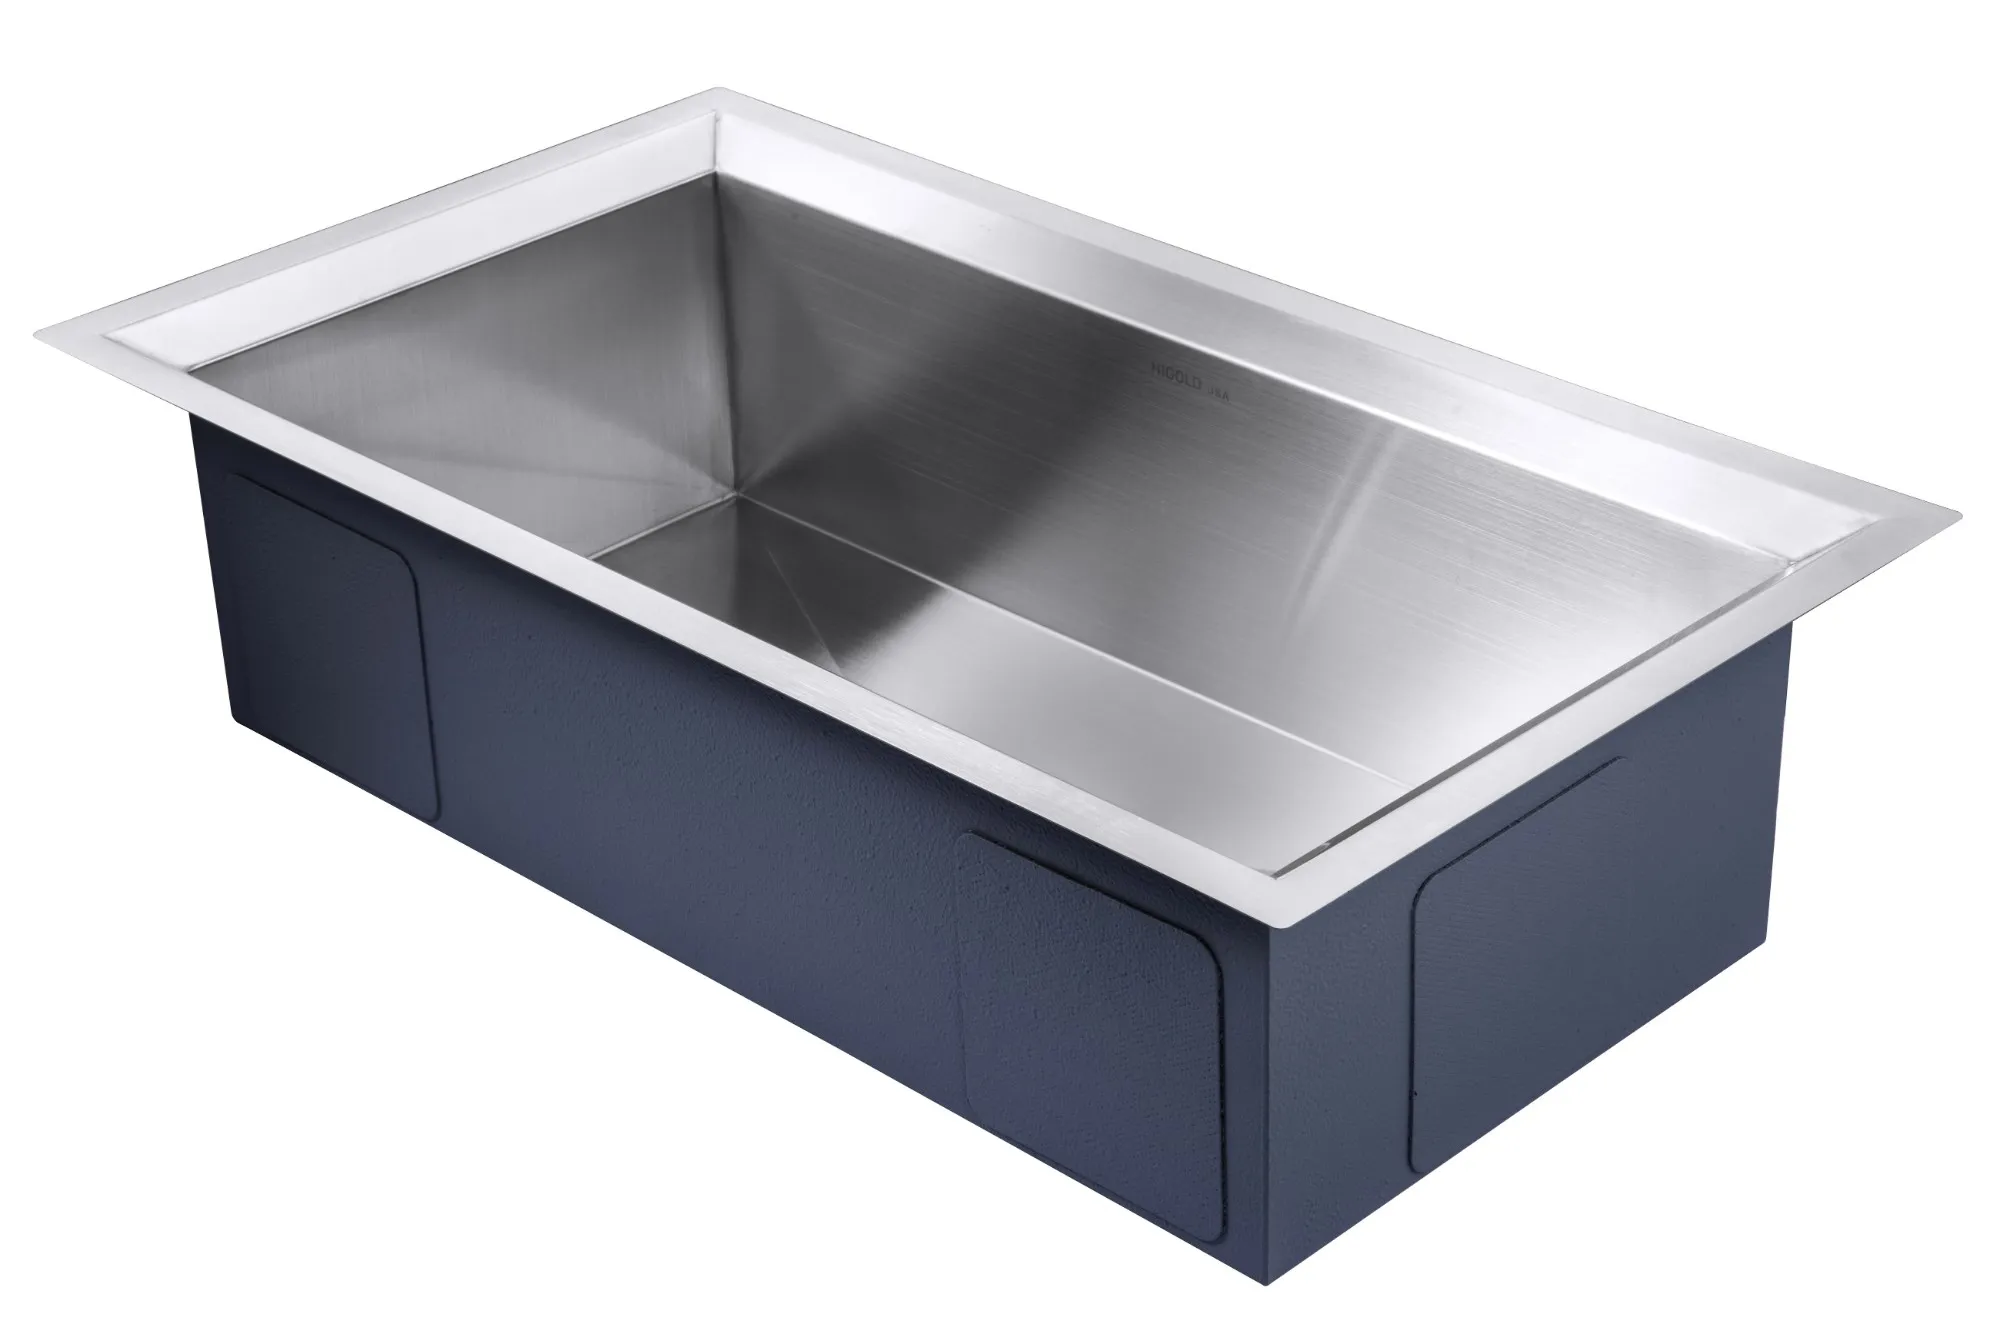
A flushmount sink is typically installed below the countertop, surrounded by the countertop, with the rim typically flush with or slightly below it. Compared to above-counter sinks, flushmount sinks offer a cleaner appearance, with fewer protrusions and less risk of water splashing onto the countertop.
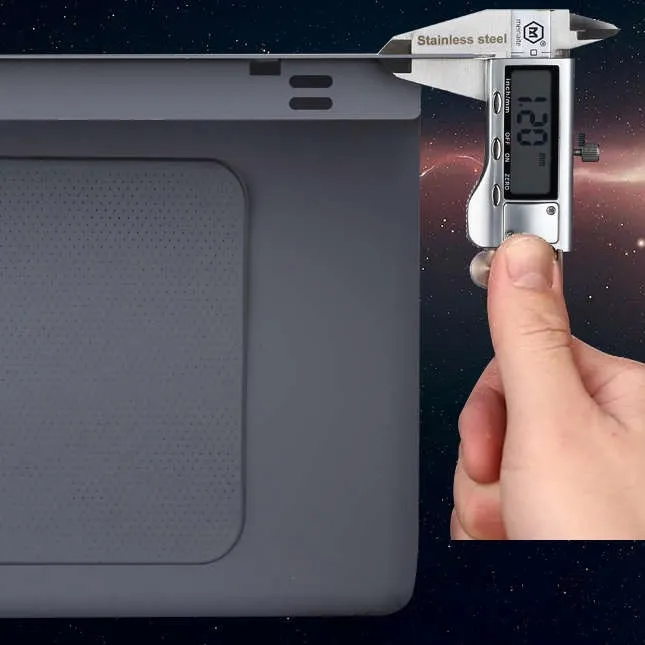
Flushmount kitchen sinks are typically made of materials such as stainless steel, quartz, and engineered stone. These materials are durable and easy to clean, making them a popular choice in modern kitchens.

Preparing for a flushmount kitchen sink
Before installing a flushmount kitchen sink, there are several key steps to consider:
1. Choosing the Right Sink Size and Material
Choosing the right sink size is crucial based on the available countertop space. Generally, the size of a flushmount sink is determined by the size of the kitchen work area. The sink size should not only be suitable for installation, but also ensure that the depth and width accommodate daily use.
When choosing a material, consider durability, ease of cleaning, and aesthetics. Stainless steel sinks are a common choice due to their corrosion resistance, heat resistance, and ease of cleaning. Quartz sinks are also widely used for their aesthetics and durability.
2. Check the installation space
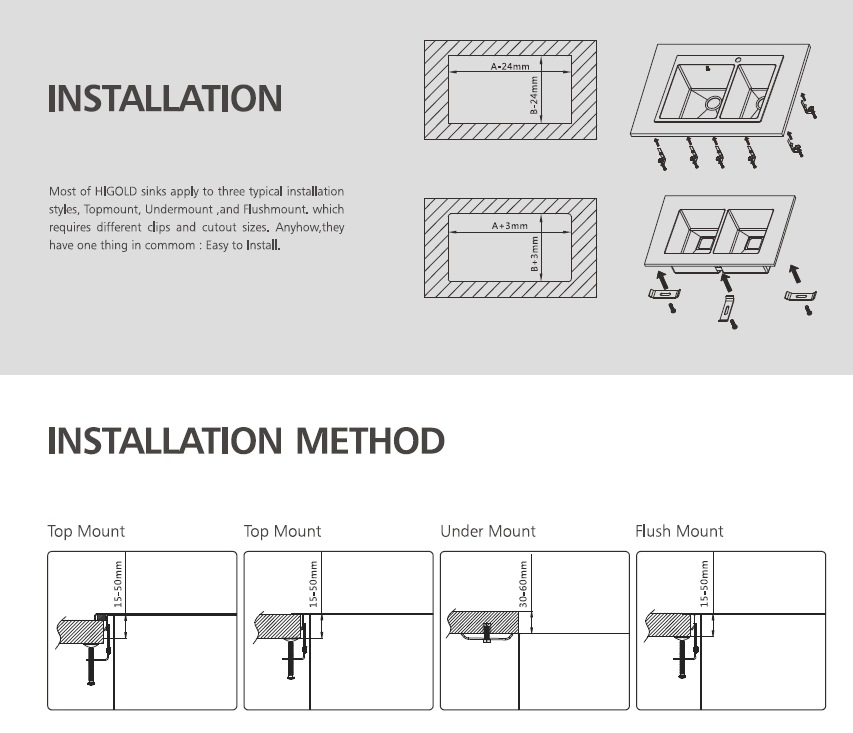
After determining the sink's size and material, ensure the countertop can accommodate it. For flushmount sinks, the countertop cutout must be precisely sized to match the sink's dimensions. The cutout must be precisely aligned with the sink to ensure stability and appearance after installation.
Measure and mark the exact location of the sink to ensure it will not interfere with plumbing, electrical wiring, or other utilities. For corner sinks or other unusual shapes, pay particular attention to adjusting the sink's placement to ensure a smooth layout.
3. Gather Tools and Materials
Installing a flushmount sink requires some basic tools, including:
• Power drill or hand drill
• Saw (for cutting the countertop)
• Sink sealant (for sealing the gap between the sink and countertop)
• Plumbing fittings
• Screwdriver or wrench
• Ruler and pencil
• Sink support bracket (if necessary)
4. Clean the countertop
Before installation, clean the countertop surface to ensure it is clean and flat, free of dust and grease that could affect the installation.

What are the steps for installing a flushmount sink?
Installing a flushmount sink is complex and requires precision. The following are the detailed installation steps:
1. Measure and Mark the Installation Location
Use a ruler and pencil to accurately measure the countertop dimensions and mark the holes for the flushmount kitchen sink. Ensure the holes are symmetrical and the sink is centered on the countertop.
Use a template or the sink itself to mark the cutting lines. Typically, the sink comes with a mounting template. Place the template on the countertop, align the sink with the countertop edge, and then mark the cutting lines with a pencil.
2. Drill and Cut the Countertop
Use a power drill to drill holes at the marked locations. Make sure the hole size matches the sink's mounting dimensions to ensure a smooth fit. If the countertop material is harder (such as quartz or marble), you may need specialized cutting tools or consider hiring a professional for the cutting.
When cutting the countertop, maintain stability and ensure the holes are cut cleanly and the edges are not damaged. If any sharp edges remain after cutting, smooth them with sandpaper or a file.
3. Install the Sink Bracket
Install brackets or reinforcement supports at the bottom of the sink opening. Some flushmount sinks come with a built-in support system, while others require purchased brackets. This step ensures the sink is securely fixed to the countertop.
The brackets must be installed correctly to prevent the sink from wobbling or shifting during use. Follow the sink's installation instructions to secure the brackets in place.
4. Seal the gap between the sink and countertop
Use a dedicated sink sealant to seal the gap between the flushmount kitchen sink rim and the countertop. Be sure to apply the sealant evenly around the perimeter of the sink. The sealant not only strengthens the sink's position but also prevents water from seeping under the countertop and causing water damage.
When applying the sealant, ensure that every gap is effectively filled. After the sealant dries, clean any excess glue from the sink rim to ensure a clean appearance.
5. Install the plumbing fittings
After installing the flushmount kitchen sink, connect the drain hose. Select the appropriate plumbing fittings based on the sink model and design, and properly connect the hose to the sink drain outlet. Ensure the hose is tightly connected and leak-proof.
When connecting, check the drain pipe to ensure that water flows smoothly and is not clogged.
6. Check the sink's stability and tightness
After installation, check the sink's stability to ensure it is stable and free of movement. Then perform a water pressure test to check for leaks. If leaks are detected, stop using the sink immediately and check that the sealant is evenly applied and the drain hose is securely connected.

Flushmount Sink Installation: Common Problems and Solutions
1. Unstable or Loose Sink
If the sink is unstable after installation, it may be due to improper bracket installation or an inappropriate countertop hole size. Recheck the sink's support and ensure all connections are secure.
2. Leaks
Leaks are often caused by a poor seal. In this case, check that the flushmount kitchen sink rim is sufficiently sealed and that the sealant has dried. Loose plumbing connections can also cause leaks. Reconnect the plumbing and test again.
3. Sink Rims Worn or Scratched
Sinks made of hard materials are prone to scratching during installation. To avoid this, use specialized cutting tools and avoid direct contact of metal tools with the sink surface during installation.
What certifications does Higold kitchenware carry?
Higold kitchen sinks and faucets comply with strict global standards, including CUPC, CSA, CE, and CGC certifications. These guarantees allow international buyers to purchase with confidence, knowing that every sink is safe, durable, and eco-friendly.
Our products are widely recognized as high quality yet affordable, making them ideal for wholesale supply, large-scale purchasing, and long-term cooperation with brands seeking reliable Chinese manufacturers.


